Monday, June 27, 2011

Nac Mac Feegle

I wanted something fun and crafty to take to the North American Discworld Convention next week.  It's odd to write next week and realize that the convention (which I have wanted to go to for about a year) is actually going to happen REALLY SOON, and whatever I wanted to get done before the convention needs to be right now.

Back to crafts.  I made me a Nac Mac Feegle.


He's blue fabric, mostly machine-stitched together and then turned right-side out, with his shoulders and head handstitched.  He's stuffed with a few plastic pellets and the rest with regular polyfill.  The hair and eyebrows are embroidery floss; it took a while but I really like how it looks.  I practiced the face for a long time before I drew it on him.  If I make another one, I'm going to draw the face first, then finish cutting him out.

More scale maille

I am aware scale maille is a not an entirely accurate term for scale armor.  I sometimes call it that anyway.

After a few failed experiments, I figured out how to wear my scale maille.


(once again I have no idea why Blogger decided that picture should be portrait, and can see no way to adjust it).


The way the scales slide and fold at the wrist is quite fascinating.

Right now the scales are just sewn onto the glove, all along the edges, using Button & Craft thread.  I suspect the scales are sharp enough to slice through the thread, so when that happens I'll have to look for some strong thread (hopefully with wires which can't be sliced through).


My new scales arrived: more green, more blue, gold, and purple.  I started this design, then decided it had too much gold for my taste and took it apart.


This design has just the right amount of gold, and I have no idea what I'm going to do with it.  I was originally thinking of making a wide bracelet, but the scales are just too thick for that.  I might extend it into a bracer, or make a pouch.


And I still have my purple scales to play with.

Wednesday, June 22, 2011

Viking Chain Knitting

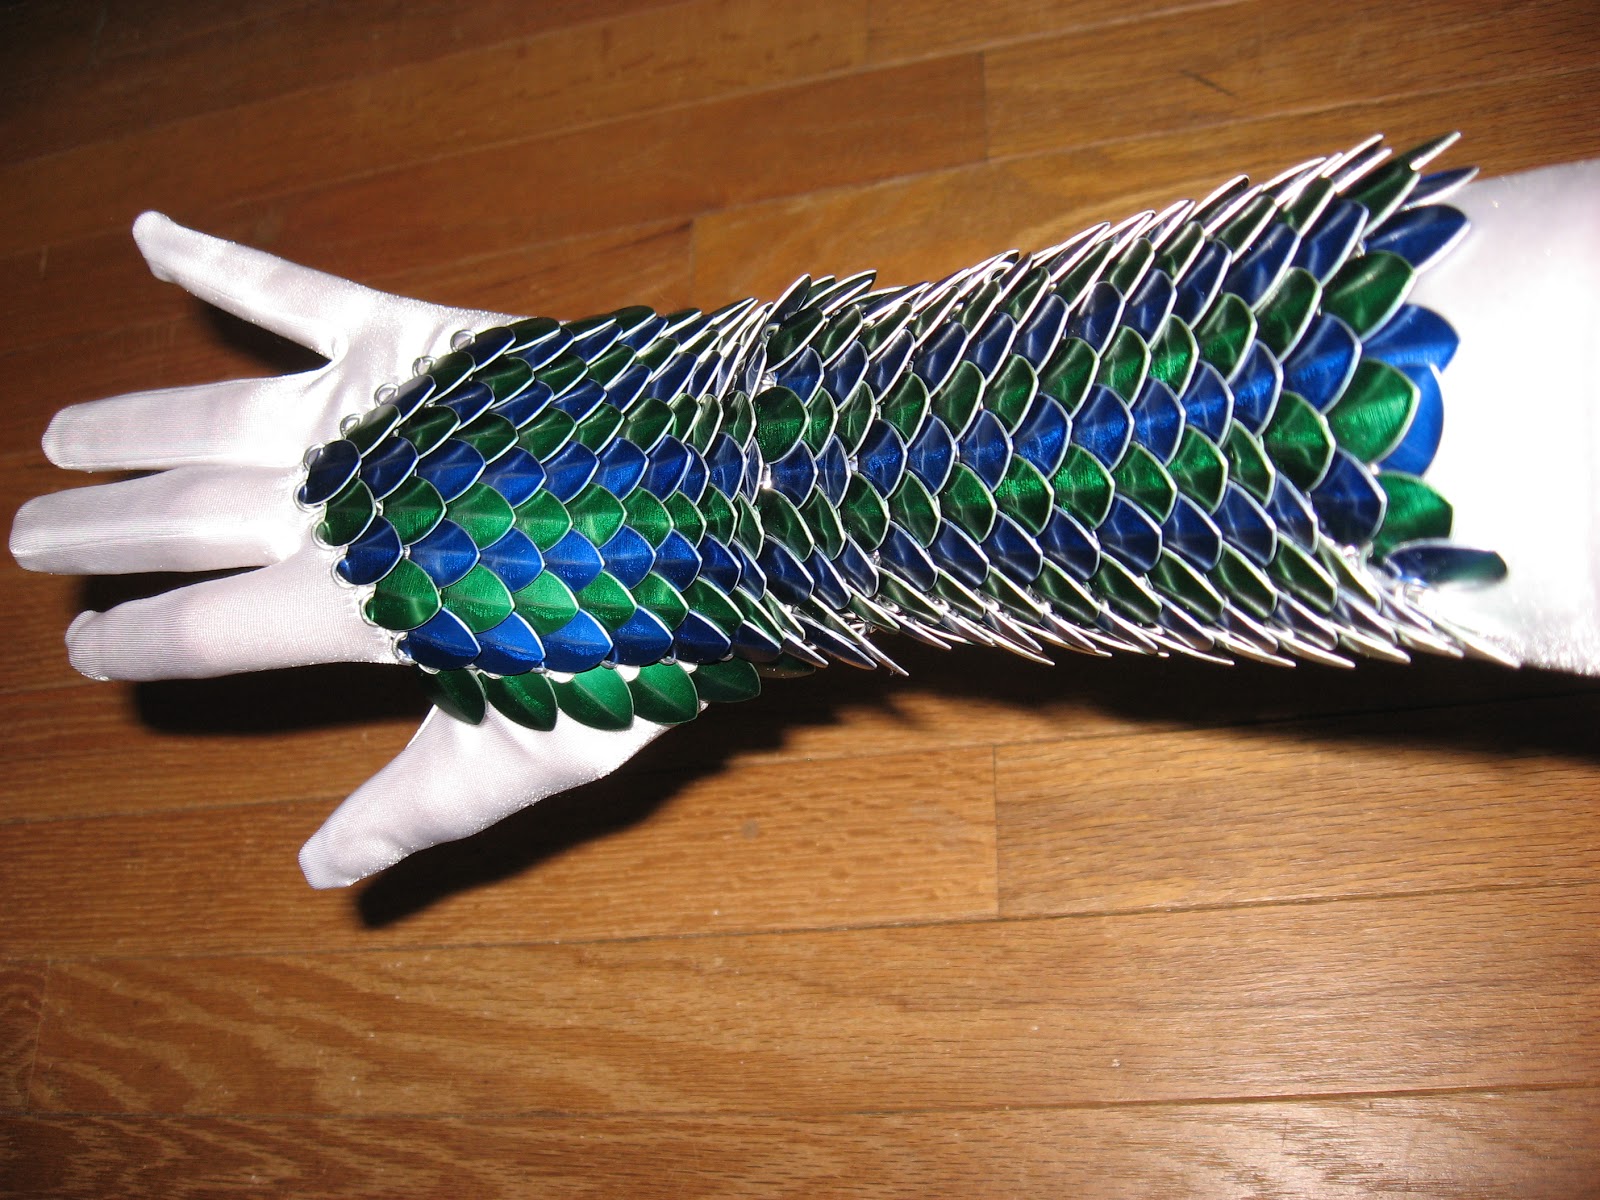
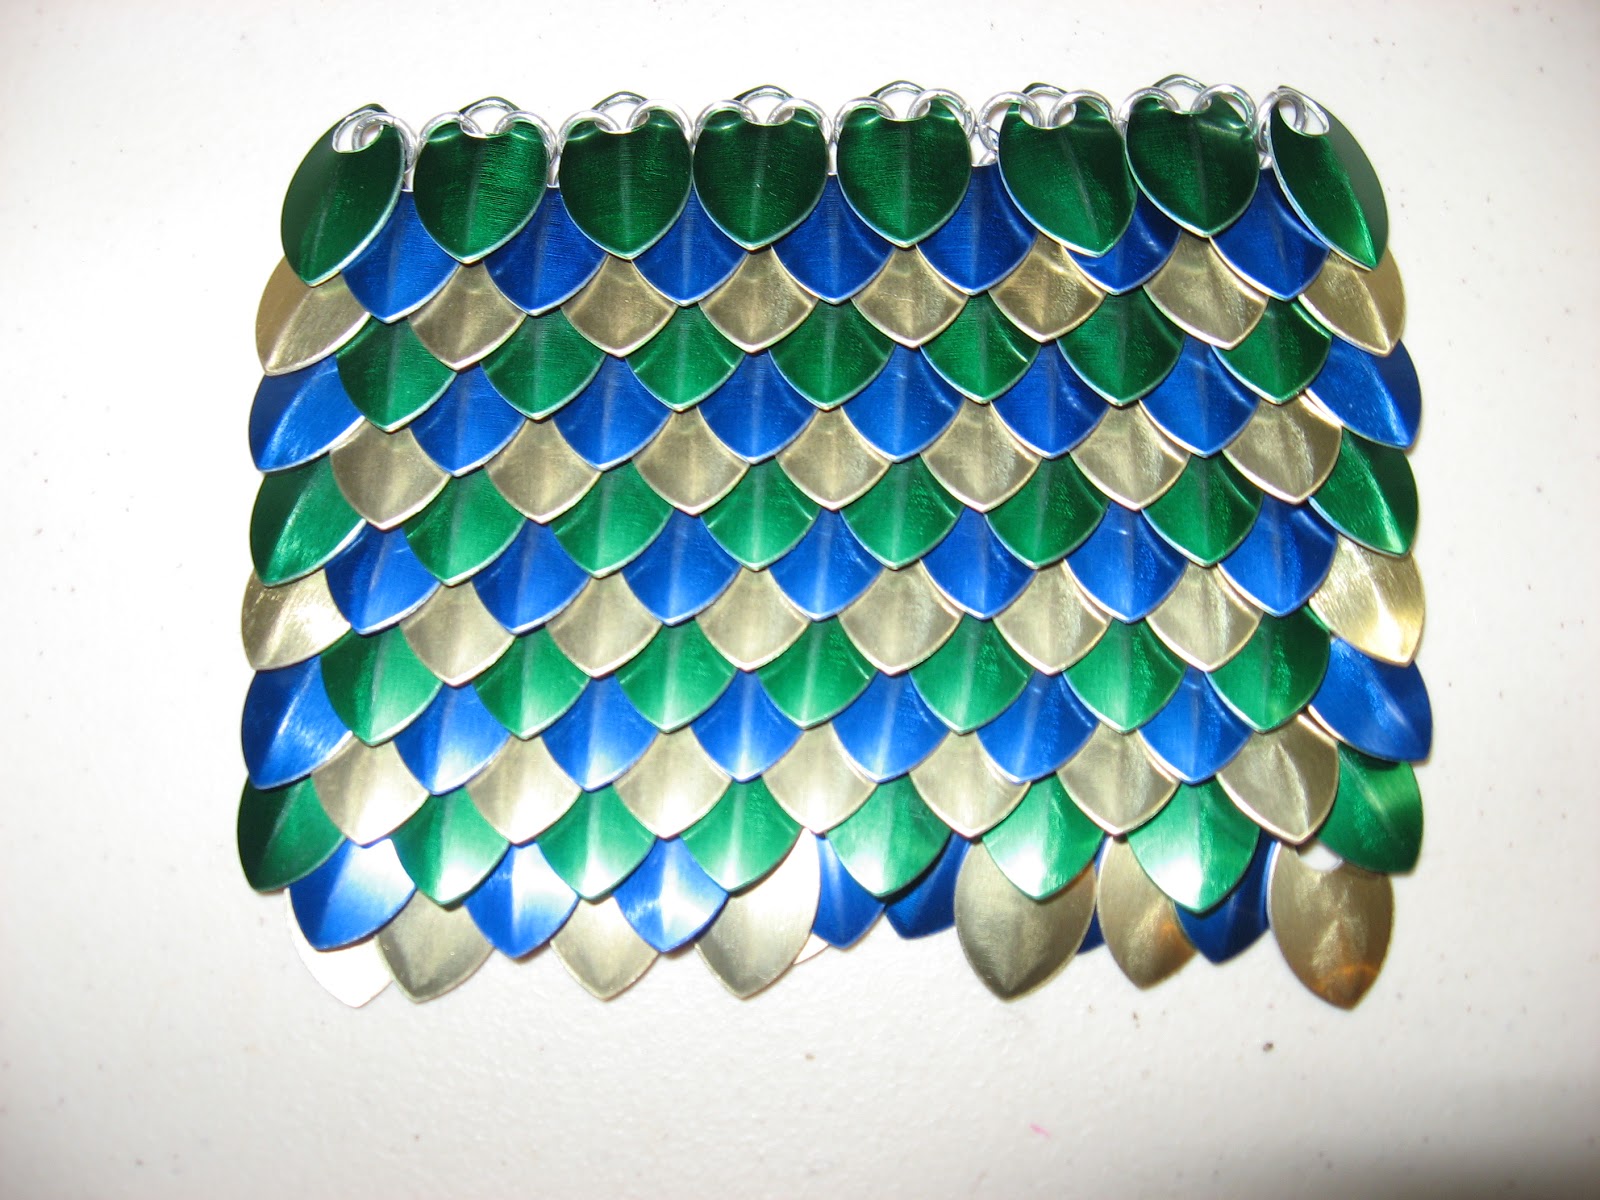
This was my addiction before I got my scales.

Viking chain knitting produces a flexible woven wire cord that looks something like this:


That's the end result, in any case.  It starts looking like this:


That's a starter bundle of wires on a mandel (dowel rod).  The wire is knotted through each loop on the starter bundle, and then knotted on the previous knot.


Etc.  The process is rather like handsewing, in that it's repetitive and your fingers can usually do it on their own, without any directions, only there's an increased chance of stabbing yourself in the eye with a sharp bit of metal.

Eventually you get a stiff tube of knotted wire.


This stiff tube is then drawn: it's pulled through successively smaller holes drilled into a piece of oak (or horn, or other strong material) until it becomes stretched and compressed into a flexible wire cord.

Once I learned how to do this, I immediately started wondering if it were possible to incorporate different colors of wire into a single weave.

Answer: yes, yes it is possible.  There are at least two different ways of doing so.


The first way I tried produced vertical stripes.


It's hard to explain how to do this.  Once you have your starter bundle, you start two different colors of wire (although I usually start with one wire for the first three rows, just to get it started).  Alternate which loop the different colors go on: copper, green, copper, green, copper, green.  Keep stitching the same color to itself, so that the tube looks like this:


Which results in designs like this: (click the image to enlarge)


The second way produces horizontal stripes, and at first wasn't particularly impressive.  Once the weave is started, add a second color and go all the way around, knotting the wire to each loop.  When the row is complete, you'll be back at the first wire.  Pick it up and go around again, knotting the wire to each loop, so that you have a row of silver, then a row of black (which is knotted to the silver), then another row of silver (knotted to the black), etc.


There's another stitch, called a double stitch.  Instead of knotting each wire to the loop directly above it, knot the wire to the loop that's two rows above it (so you are skipping over a loop and knotting on the next loop).  This produces a much stiffer cord.  When I tried my horizontal stripe stitch with a double stitch, it produces very striking results:


 *            *            *

It is very difficult to predict how long the finished weave is going to be after it is drawn.  It depends on how many loops you made it your starter bundle (I like working with six, but four is also common, and you could probably go up to ten or twelve), how tight your stitches are, what kind of wire you're using, etc.  Fortunately, it is possible to trim the piece after it's been drawn.  Just cut the wire (a bit past where you want it to end) and unweave it back down to the desired length.  Stuff the ends back into the center of the weave.

The ends can be finished off with a cone, or just with jump rings (depends how pretty the ends are, or whether you need to add a bit of length).  I have tiny wrists, so I like making bracelets which wrap around my wrist two or three times.


Monday, June 20, 2011

Edison

Most of my projects have been like making the light bulb: mostly I'm discovering ways to not make something.

Sunday, June 12, 2011

My latest addiction. I mean craft project.


This is scale armor.  It's a bit tricky, but once you get the trick of it, it's easy, addictive, and very, very shiny.  I used small anodized aluminum scales from The Ringlord, and used one of the Ringlord's training videos to help me figure it out.  What the video does not make explicitly clear is that there is only one correct way to join two scales together.  The ring needs to go behind the top scale, in front of the bottom scale (the one you are attaching), and be on the correct side of the bottom scale.


This piece contains about one hundred scales.  It's just bigger than my palm.

I decided to use two colors because I thought they would be pretty, but this idea is actually a really good way to help learn how to do it.  Each row is either blue or green, and since the rows overlap, the different colors make it easier to tell which row you're working on, and which scales to be putting rings through. 


(this picture should be landscape, not portrait, but I cannot figure out how to convince Blogger of this.)

The scale fabric is wonderfully fun to play with.  It's a tactile thing: the feel of the scale fabric, and the way it moves and drapes and just looks awesome.  This is not just my opinion.  I showed my scale armor to several friends, and each one had to play with it for several minutes before they would let the next person look at it.


This is my second piece.  I worked on this for about forty minutes.  (I know because I watched Doctor Who: The Eleventh Hour while I made this.  I figure the times I paused because I was figuring out a tricky bit cancel out the times I was just watching).

I think I need more scales now.  Off to the Ringlord ...